Decontamination protocols are critical for surviving exposure to chemical, biological, radiological, and nuclear (CBRN) threats.
Because even if you’re fully protected from head to toe with the very best gas mask, filter, and hazmat suit, you’re eventually going to need to take all that gear off. And if you’re not fully decontaminated before doffing your mask and other PPE, you’ll instantly expose yourself to the very threats you worked so hard to avoid.
For example, police officers typically wear gas masks and protective gear while they’re on riot duty. This PPE protects them from exposure to tear gas and other riot control agents. But sometimes, officers fail to realize that tear gas can actually settle into their skin, hair, scalp, and clothing.
They go home after working riot duty (without proper decontamination). They hop in the shower to clean off, and the steam of the hot water reactivates the compound—effectively gassing the officer in his own shower.
In more extreme cases, failure to decontaminate can expose you to biological threats, toxic industrial chemicals, or even deadly nerve agents.
Please note that decontamination is a complicated process that involves cutting-edge methodology and specialized expertise. Ideally, a trained CBRN expert should oversee your decontamination protocol. (Such is the case for military and special police units.)
The author of this article is not a trained CBRN expert, and this article is not a comprehensive decontamination protocol. Instead, we’re taking a deeper look into popular decontamination strategies and protocols, giving you a “view from 10,000 feet” into how you can start applying some of these same strategies for your own family or unit.
Table of Contents
-
01
Decontamination 101
-
02
Dealing with Chemical Threats
-
03
Dealing with Biological Threats
-
04
Dealing with Radiological/Nuclear Threats
-
05
Making the Most of Your Resources
-
06
Frequently Asked Questions About Decontamination
Decontamination 101
As the name implies, decontamination protocol is the process for mechanically and chemically removing contaminants from the surface of your skin, clothing and PPE.
Different methods will be necessary to remove different contaminants, and each CBRN threat comes with some key considerations for decontamination. But in general, there are a few universal factors involved in every successful decontamination.
First, it’s crucial to coordinate your decontamination process—especially if you’re dealing with multiple exposed individuals. Develop a clear command structure and a process for efficient decontamination. Train those who are going to be involved. And ensure clear communication while you’re doing your job.
The goal of decontamination is to be both thorough and quick, so those you’re helping can get to medical professionals as soon as possible.
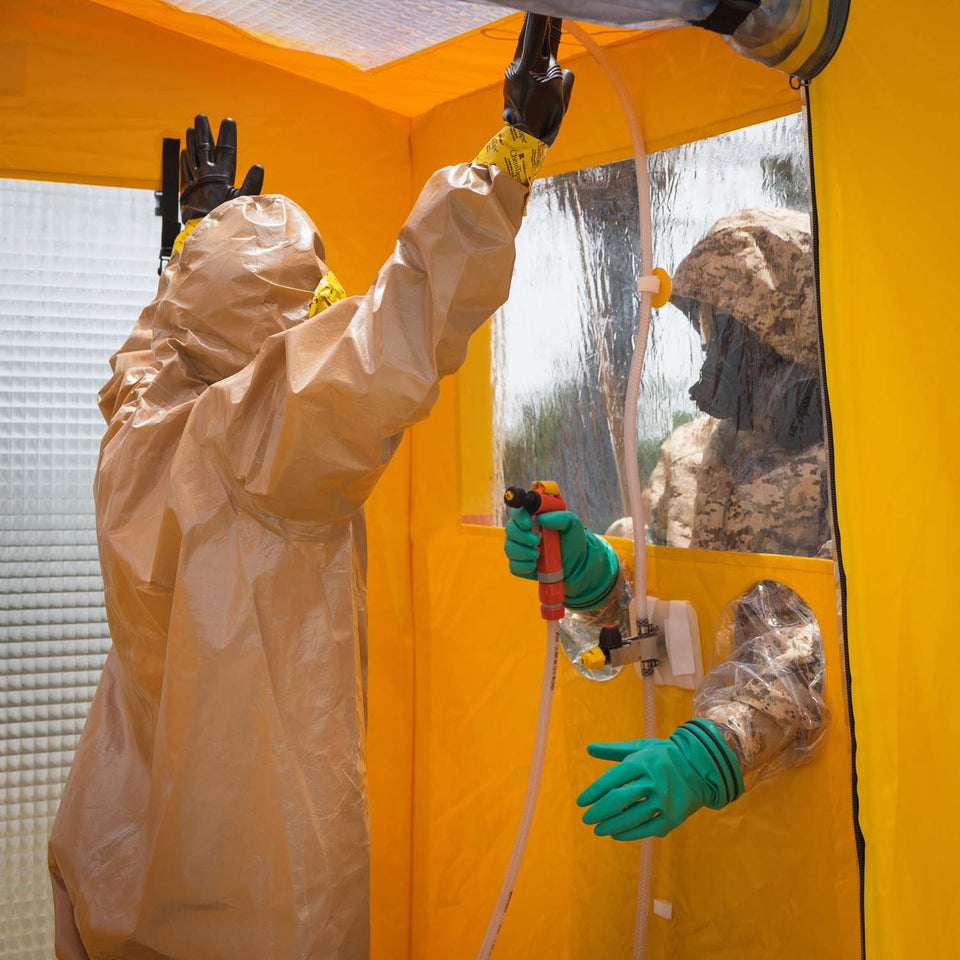
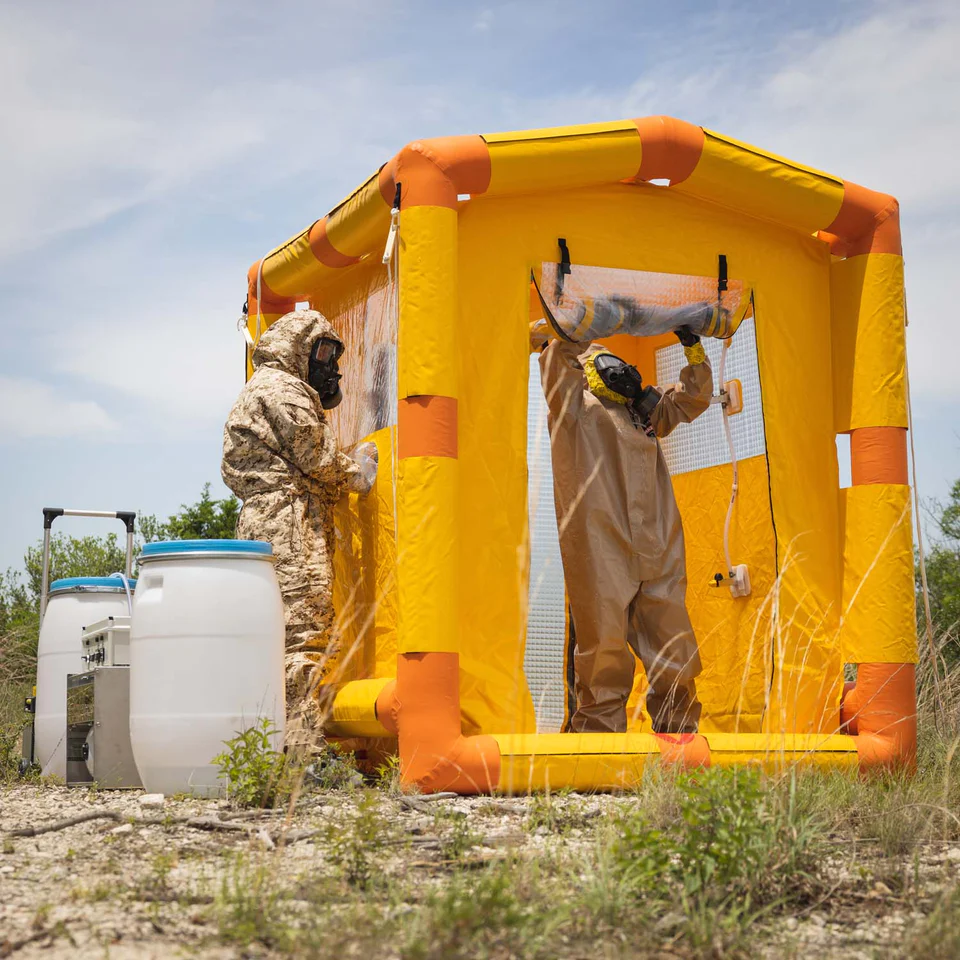
You should be using a dedicated decontamination area or a shower like the DS-1 Decontamination Shower. The DS-1 is built for rapid deployment and high volume, large-scale operations, so it’s probably more than you’ll need.

The DS-1 Decontamination Shower is Engineered for High-Volume Decontamination
Wherever your decontamination area is, make sure you’ll be able to isolate those you’re decontaminating. The process tends to create large amounts of runoff and wastewater, and you won’t want to affect anyone else. You’ll also want to have a plan for safely disposing of said contaminated wastewater.
Finally, you’ll want to document the process extensively. Names, details, duration, products and compounds used. It’s important to maintain as thorough a record as possible for future reference, and to ensure the best possible medical treatment for those you’re helping. These records also allow for post-incident reviews, which can help you improve.
Following decontamination, exposed individuals should always receive medical treatment from trained professionals. And you should always comply with local regulations when it comes to the disposal of wastewater and exposed garments.
Dealing with Chemical Threats
There’s an extremely wide range of chemical threats you might encounter—and that’s the first challenge when it comes to decontamination.
It’s crucial that you identify the chemical threats in an environment, and determine at least an approximate level of concentration and contamination. You also want to figure out which areas are the worst affected—so you can start to develop an idea of the level of chemical exposure you’ll encounter.
Of course, proper PPE is essential.
For most chemical threats, it’s best to wear a full-face Level 3 gas mask like the MIRA safety CM-6M, equipped with an NBC-77 SOF filter. Full-body protection is also required, since direct contact with some threats can be harmful or even deadly.
Once you’re exposed, the first step in decontamination is isolation. You’ll want to be in a secure area where no unprotected individuals are at risk of being exposed to the runoff and waste produced in decontamination. You’ll also want to establish a safe zone around your decontamination area (as mentioned above).

The next step is what’s called “dry decontamination,” where you use either a brush or (ideally) an MDG-1 Decontamination Glove to thoroughly scrub the surface of the exposed individual’s skin, clothing, or PPE. Use a soft brush or gloved hands to remove visible contaminants and particulates.
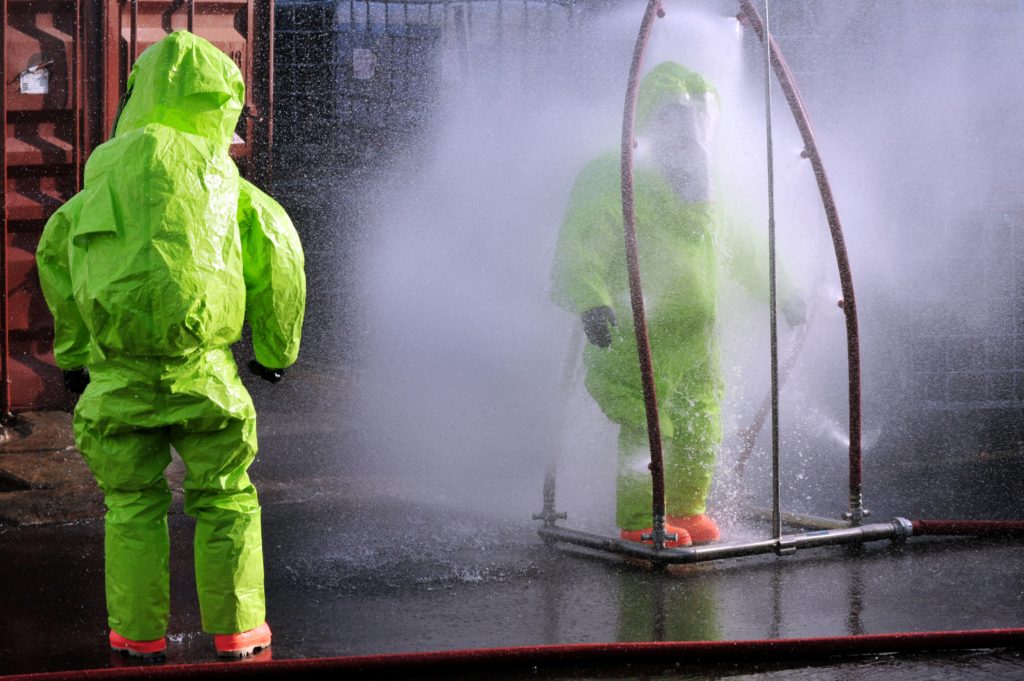
After that, you’ll need to rinse with copious amounts of water. You can mix in a small percentage of soap or other cleaning solutions, but water is the universal solvent and a perfect choice here. Just use a lot of water. And then use even more to be sure.
When you rinse, you’ll want to start from the top of the head and move downward, using a continuous flow of water to ensure contaminants roll down and off of the exposed individual.

Decontamination always involves extensive rinsing. (Image courtesy of Saferack.)
Next, you’ll want to apply a decontamination solution that’s suitable for the specific chemical agent you’re dealing with. You’ll want to research different decontamination solutions through various manufacturers to find something that’s right for you.
After that—even more rinsing. Conduct a second rinse to remove the decontamination solution along with any tiny amount of particulate you may have missed the first time around.
Only when this phase is complete should you remove clothing or PPE, while ensuring minimal contact with skin. Exposed garments should be sealed in bags and disposed of according to local regulations.
Following chemical decontamination, you should conduct a medical evaluation of the exposed individual, cross-referencing with various symptoms of exposure to determine if they might need further care.
To recap, that’s:
- Isolate the exposed individual in a decontamination area.
- Conduct dry decontamination.
- Rinse.
- Apply a decontamination solution.
- Rinse again.
- Remove and destroy garments.
- Medical evaluation.
This list leaves out many key details that are critical to the process, but it gives you an overview of what’s involved in a standard decontamination procedure for chemical exposure.
Dealing with Biological Threats
Biological threats often come in the form of bacteria and viruses, and the category includes everything from anthrax to ebola. Biological threats are often more insidious, since exposure doesn’t necessarily involve a terrorist attack or an industrial accident at a chemical plant.
As with chemical threats, it’s important to identify the biological agent if possible. Depending on the agent, you may also need to determine the affected areas and potential spread.
Biological decontamination begins with isolation and dry decontamination. Brush away any biological material from exposed areas.
Next, you’ll need to rinse the exposed individual with large amounts of water. During decontamination, affected individuals who aren’t wearing PPE should be encouraged to blink and rinse their eyes, blow out their noses, and rinse their mouths.

(Image courtesy of Hazwoper OSHA.)
After that, a broad-spectrum disinfectant should be applied to the affected areas following manufacturing guidelines. Once that’s done, the exposed individual should carefully remove their clothes while maintaining minimal contact.
And once again, you’ll want to seal those clothes in bags and dispose of them properly.
Once disrobed, the affected individual should shower thoroughly, scrubbing with soap and water. Once they’re dried off and dressed, they should undergo a medical assessment to identify potential symptoms.
To recap, that’s:
- Isolate.
- Perform dry decontamination.
- Rinse.
- Apply broad-spectrum disinfectant.
- Remove garments.
- Shower.
- Conduct medical assessment.
Due to the nature of infection, the decontamination process is inherently more thorough here. But you can implement a simpler daily protocol in the event of a pandemic. And virtually every biological threat can be handled by a P3 ParticleMax filter (which can be re-used based on updated guidelines from the Centers of Disease Control).
Dealing with Radiological/Nuclear Threats
Radiological and nuclear decontamination processes are among the most complicated—and with good reason.
The risk of radiation sickness is sharply increased by the presence of radioactive material. Even if you’re covered from head to toe in PPE, gamma radiation from microscopic fallout can still take a toll on your health in a matter of hours. So prompt and thorough decontamination becomes an absolute necessity.
As always, you’ll want to start with an assessment of the situation. Identify the nuclear material, and get a general idea of radiation levels. Check the quality of the exposed individual’s PPE (if any) including suits, gloves, masks, and eye protection.
Decontamination starts with dry removal, using a hard-bristled brush or MDG-1 Decontamination Glove to remove particulates from the skin, clothing, or PPE.

The next step is a wet decontamination, this time using a mild detergent and water solution to wash exposed areas. This wet decontamination should be followed by a thorough rinse with clean water to remove any remaining radioactive particles.
After the rinse, the exposed individual should be instructed to carefully remove their clothes, and double-bag for proper disposal. Note that in the event of radioactive exposure, there aren’t really any standing guidelines for the disposal of exposed garments. The uniforms of the Chernobyl firefighters are infamously still in the basement of Pripyat’s hospital–and still extremely radioactive.
Once disrobed, individuals should shower thoroughly with soap and water to complete the decontamination process. Afterward, they should be monitored for radiation exposure. Use a dosimeter like the Geiger-2 Geiger counter to determine if they are still showing signs of radioactivity and in need of another decontamination.
To recap:
- Isolate and assess.
- Perform dry decontamination.
- Perform wet decontamination.
- Rinse.
- Remove garments.
- Shower.
- Radiation monitoring.
In the event of radiological/nuclear exposure, authorities are likely to appear on the scene relatively soon (presuming there are still authorities to appear, of course). So it’s good to understand the decontamination process, but you can leave long-term treatment and maintenance to the experts.
Making the Most of Your Resources
Once again, this article has provided just a brief overview of the various decontamination standards used for dealing with exposure to CBRN threats.
There are extensive resources online if you’d like to learn more about the process. (We recommend starting with government guidelines, like those covered by OSHA.) And while you may never become a decontamination expert, it’s important to at least familiarize yourself with the process.

(Image courtesy of Firehouse Magazine.)
Because even taking just a few simple steps to decontaminate could save someone’s life. Just wiping an exposed individual down with an MDG-1 Decon Glove, for example, can reduce their risk of continued exposure by up to 90%. So be ready to take action, and make the most of your resources when it comes to decontamination.
