Recent global events have shown us that the unexpected can happen at any time. From natural disasters to geopolitical unrest, the need for survival skills has never been more pressing. Whether you're an outdoor enthusiast, a prepper, or simply someone who wants to be ready for anything, this guide will equip you with the knowledge to create safe havens in even the most challenging environments.
Shelters are more than just a roof over your head. They're a cornerstone of wilderness survival, providing not just physical protection, but also psychological comfort in dire situations. Understanding the importance of shelter in various survival scenarios can quite literally save your life. It's not just about comfort—it's about creating a safe haven that allows you to rest, recuperate, and strategize your way out of danger.

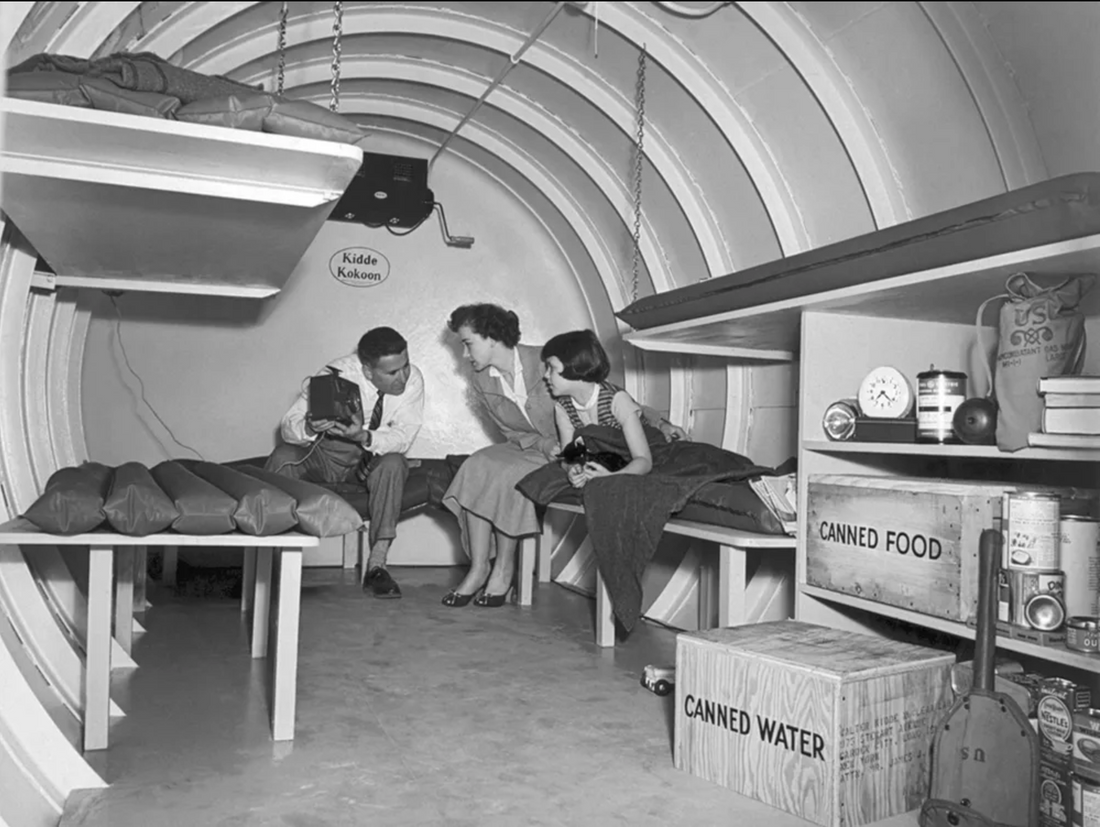
Image courtesy of Envato
Temporary Survival Shelters Long-Term Survival Shelters Urban Survival Shelters Essential Skills for Shelter Building Shelter Essentials: What to Pack Important Information on Nuclear Fallout Shelters Practicing Shelter Building Shelter Safety ConsiderationsTable of Contents
Temporary Survival Shelters
When you find yourself unexpectedly stranded or in need of quick protection from the elements, it's much easier to set up a temporary survival shelter. These shelters are designed to be erected quickly with minimal tools and materials, providing immediate protection in emergency situations. You don't need to be an expert in bushcraft to learn how to build a survival shelter building.

Rudimentary outdoor survival shelter (Image courtesy of Envato)
Lean-to Shelter
The lean-to shelter is a classic in the world of wilderness survival, and for good reason, as it's an excellent choice for beginners and experienced people alike. The lean-to's angled design efficiently sheds rain and snow while providing a windbreak and reflecting heat from a campfire built in front of it, providing you with a warm and dry space inside.
Materials needed:
-
Large sturdy branch or fallen tree
-
Smaller branches
-
Leaves, pine boughs, or other vegetation for roofing
-
Cordage (optional, but highly recommended)
Steps to build:
-
Find a large fallen tree or prop a sturdy branch against a standing tree.
-
Lean smaller branches against this main support at a 45-degree angle.
-
Cover the frame with leaves, pine boughs, or other vegetation to create a waterproof roof.
-
Use cordage to secure the structure if available.
The lean-to's open front allows for easy access and the ability to maintain a fire directly in front of the shelter. Remember to position the open side of the lean-to away from the prevailing wind for maximum protection.

Using a knife to shape parts for a shelter (Image courtesy of Envato).
A-Frame Shelter
The A-frame shelter's triangular shape provides excellent stability and sheds water efficiently, making it a superb choice in rainy conditions. The A-frame also offers better insulation than the lean-to, as it encloses you on all sides. It's a reliable, warm survival shelter that you can build in less than an hour.
Materials needed:
-
Two sturdy branches for the main frame
-
Smaller branches for the sides
-
Vegetation for roofing
-
Cordage
Steps to build:
-
Prop two sturdy branches together to form an 'A' shape. If possible, use a natural fork in a tree or lash the tops together with cordage.
-
Lean smaller branches against both sides of this frame, leaving a small opening for entry.
-
Cover with vegetation for insulation and water resistance, again working from bottom to top.
-
Use cordage to secure the structure, tying the frame branches together and securing the side branches to the main frame.
The A-frame's enclosed design makes it warmer than a lean-to, but it can be more challenging to build the fire near it safely. It's an excellent choice for cooler, wetter climates where maximum protection from the elements is crucial.

A waterproof roof is prepared for a wilderness survival shelter (Image courtesy of Envato).
Tarp Shelter
A tarp shelter combines the best of both worlds—quick setup and reliable protection—making it an invaluable addition to any survival kit.
Materials needed:
-
An 8×10 tarp (or bigger)
-
Cordage
-
Stakes (optional)
Steps to build:
-
Find two trees spaced appropriately for your tarp size, ideally 8-10 feet apart for good shelter.
-
Tie your cordage between the trees at about chest height. This will be your ridgeline.
-
Drape the tarp over the cordage, ensuring it's centered.
-
Secure the corners of the tarp to the ground using stakes or heavy objects. If using stakes, angle them away from the tarp for better hold.
-
Adjust the tarp's tension to create a taut surface that will shed water effectively.
A tarp shelter can be configured in numerous ways to adapt to different environments and weather conditions. For example, in heavy rain, you might opt for a steeper pitch to shed water more effectively. In hot, sunny conditions, you could create a more open configuration for better airflow to create the perfect desert shelter.
However, the tarp shelter doesn't provide insulation like natural materials do, so in cold conditions you'll need to compensate with proper sleeping gear or by creating an insulating layer of materials beneath you.

Placing insulative cover (Image courtesy of Envato).
Long-Term Survival Shelters
Long-term survival shelters are designed to provide enhanced protection, comfort, and sustainability over weeks or even months. These structures require more time and effort to build, but they offer significant advantages in terms of durability, insulation, and overall livability.

Cabin in the woods (Image courtesy of Envato).
Debris Hut
The debris hut combines simplicity of construction with remarkable effectiveness. This shelter type excels in forested areas where organic materials are plentiful, making it an excellent option for long-term wilderness survival. You can make your shelter almost anywhere as long as you have a clearing, and you don't need much in the way of outdoor skills either.
Materials needed:
-
Long, sturdy pole for the main ridge
-
Shorter branches for the ribbing
-
Leaves, grass, and other debris for insulation
Steps to build:
-
Prop one end of a long pole on a tree stump or rock, with the other end on the ground, creating a sloped ridge.
-
Lean shorter branches against this main ridge pole to create a ribbed frame. The ribs should be close together to support the debris layer.
-
Cover the entire structure with a thick layer of leaves and other debris. This layer should be at least 2 feet thick when compressed.
-
Create a small entrance at the high end of the shelter, just big enough to crawl through.
-
Insulate the floor with a thick layer of dry vegetation like pine needles or leaves.
The key to a successful debris hut lies in the insulation layer. The thicker this layer, the warmer and more weatherproof your shelter will be. In cold conditions, aim for a debris layer at least 3-4 feet thick before compression for maximum protection against wind and rain. This might seem excessive, but remember: you're creating a natural sleeping bag that will keep you warm through cold nights.
For long-term use, regular maintenance is crucial. Add fresh debris to the outer layer periodically, and replace the bedding material inside the shelter to keep it dry and clean. With proper care, a debris hut can serve as a comfortable wilderness home for extended periods, allowing you to focus on other aspects of long-term survival.
Snow Shelter

A cabin in the wilderness (Image courtesy of Envato).
In snow-covered environments, the very element that poses a threat can become your greatest ally in creating a survival shelter. Snow is an excellent insulator when used correctly, and every shelter in snow can provide surprisingly warm and comfortable refuge in even the harshest winter conditions if you prop it correctly.
Steps to build:
-
Find a deep snowdrift on the lee (downwind) side of a hill. The drift should be at least 6 feet deep.
-
Dig a tunnel into the drift slightly uphill. This entrance tunnel should be just large enough to crawl through.
-
Once you're about 3-4 feet in, start excavating upwards and to the sides to create a living space. The living area should be higher than the entrance to trap warm air.
-
Shape the ceiling into a dome to prevent dripping as the interior warms from your body heat.
-
Smooth the walls and ceiling to prevent snow from falling on you.
-
Create a sleeping platform higher than the entrance. This is where the warmest air will collect.
-
Poke a small ventilation hole in the top of the shelter, about the diameter of your fist. This is crucial for air circulation and preventing carbon dioxide buildup.
Be sure to start digging well before you become exhausted or too cold. The process of digging can make you sweat, and if you don't have a place to warm up when the sweat cools, you can become dangerously cool if you don't have a place to warm up when the sweat cools, you can wind up with hypothermia.
Urban Survival Shelters
While wilderness survival often takes center stage in discussions about emergency preparedness, the reality is that many of us live in urban or suburban environments. Urban survival shelters require a unique approach, balancing the need for protection with the realities of a built environment.
Abandoned Buildings
In extreme emergency situations, abandoned buildings can serve as ready-made shelters. However, this option comes with significant risks and ethical considerations that must be carefully weighed.
Pros:
-
Immediate shelter from the elements
-
Potential access to useful resources or abandoned materials
-
Sturdy architecture that can withstand severe weather or other threats
Cons:
-
Potential structural instability due to neglect or damage
-
Possible hazardous materials like asbestos or mold
-
Risk of confrontations with other individuals seeking shelter
-
Legal consequences of trespassing
If you find yourself in a situation where you need to take shelter in an abandoned building, follow these guidelines:
-
Assess the building shelter from the outside first, checking for signs of instability, and enter cautiously.
-
Survey the area and take note of existing hazards like exposed nails, broken glass, or collapsed areas.
-
Choose a room or area that's far from potential external threats, while still maintaining easy exit routes.
-
Secure your chosen area as much as possible. Block unused entrances and create barriers for privacy and protection.
-
Be prepared to leave quickly if conditions change or authorities arrive.
Using abandoned buildings should be a last resort, as the legal and safety risks often outweigh the benefits. However, if you just want to stay warm for a little while and shelter at night from the elements, staying in an abandoned building will keep you dry and protect you from rain and wind.
Improvised Urban Shelters
In urban environments, creativity and resourcefulness are your greatest assets when it comes to creating improvised shelters. The key is to look at everyday objects and structures with a survival mindset, seeing potential shelter in items others might overlook.
-
Dumpsters: While not glamorous, a clean and dry dumpster can be transformed into a sturdy temporary shelter. Look for a container with a lid and line the bottom with insulating materials.
-
Cardboard boxes: Cardboard is a surprisingly effective insulator and can be found easily in urban areas. Layer multiple pieces for better insulation and waterproofing, and look for a raised platform to keep your shelter off the cold ground.
-
Parking garage camps: Multi-level parking garages can offer protection from the elements as well as strategically positioned vantage points.
-
Repurposed vehicles: In a true emergency, abandoned vehicles can serve as temporary shelters. Ensure the vehicle is in a safe location where it won't roll, and use blankets or tarps to avoid detection and provide insulation.
Essential Skills for Shelter Building
Mastering the art of shelter building is about more than just knowing different shelter designs. It requires a set of fundamental skills that will serve you well in any survival situation.
-
Knot Tying: Learning basic knots like the bowline, clove hitch, and taut-line hitch can greatly enhance your shelter-building capabilities.
-
Fire Building: A fire can turn a basic shelter into a warm, dry haven. Practice fire-starting techniques with various methods (matches, lighters, ferrocerium rods).
-
Site Selection: Choosing the right location for your shelter is crucial. Look for:
-
Natural windbreaks
-
Higher ground to avoid water accumulation
-
Proximity to resources (water, firewood)
-
Safe distance from hazards (dead trees, flash flood areas)
Insulation Techniques: Understanding how to create effective insulation can significantly improve your shelter's performance. Use natural materials like leaves, grass, and pine boughs to create insulating layers.

Image courtesy of Envato
Shelter Essentials: What to Pack
While the ability to build a shelter from natural materials is invaluable, having the right gear can make the process much easier and more effective. Consider including these items in your survival kit:
-
Tarp or emergency blanket
-
Paracord or strong cordage
-
Folding saw or sturdy knife
-
Lightweight tent stakes
-
Emergency bivvy sack
-
Duct tape
-
Emergency poncho
-
Lightweight thermal blanket
-
Stuff sacks
Don't forget, the best survival kit is the one you have with you. Balance the desire for comprehensive preparation with the practicality of what you can realistically carry or store in your vehicle.
Practicing Shelter Building
Like any skill, shelter building improves with practice. Consider these tips for honing your shelter-building skills:
-
Practice in your backyard or a safe outdoor area before you need these skills in an emergency. Start by making a shelter that's easier to build, and hone your skills.
-
Time yourself to see how quickly you can erect different types of shelters.
-
Test your shelters in various weather conditions (always with proper safety precautions).
-
Join wilderness survival courses or groups to learn from experienced outdoorsmen.
Shelter Safety Considerations
While shelter is crucial for survival, it's important to keep safety in mind:
-
Ventilation: Ensure your shelter has adequate ventilation, especially if you plan to have a fire inside.
-
Structural Integrity: Regularly check your shelter for weak points or potential collapse hazards.
-
Fire Safety: If using a fire, ensure it's a safe distance from your shelter and properly contained.
-
Wildlife Awareness: Be mindful of local wildlife and take steps to avoid attracting dangerous animals to your shelter area.
Understanding how to create effective survival shelters is a fundamental skill for anyone interested in outdoor activities or emergency preparedness. From simple lean-tos to advanced underground bunkers, the right shelter can provide safety, comfort, and a critical edge in survival situations.
Remember, the best survival shelter is the one you know how to build quickly and effectively. Practice these skills regularly, keep essential gear on hand, and stay informed about potential threats in your area. With knowledge, preparation, and the right equipment, you'll be ready to face whatever challenges nature or unforeseen circumstances may throw your way.
Frequently Asked Questions